I recently needed some new business cards and in the past, I have purchased them from a local printer. They were not inexpensive and they didn’t do much to reflect who I am as a nature photographer. I decided to explore online possibilities. I tried a few sites and even ordered proofs from one site to check out the quality. The quality was excellent but the price was high. I looked some more and found a site that I liked. First, I have to say that I don’t have any connection to this site other than having been a customer. I thought that I would walk you through the design process and show you how easy it is.
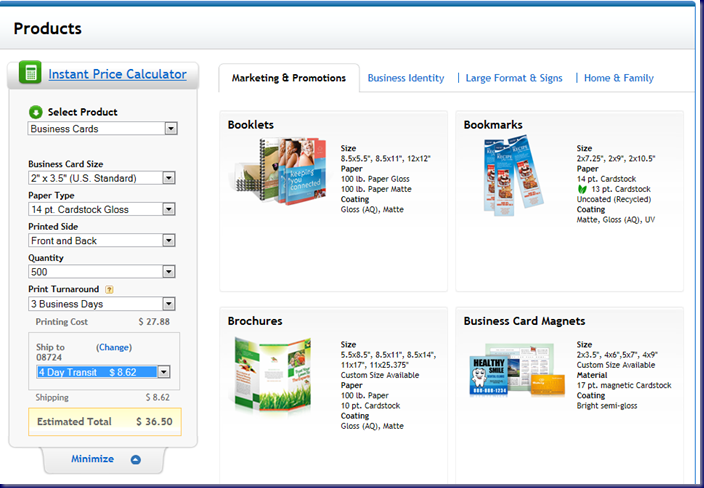
The site that I settled on is Uprinting. Once I setup an account and entered all my information, I went to the products page to choose to make business cards. First I checked on pricing based on how I wanted to the card to look. These were my settings:
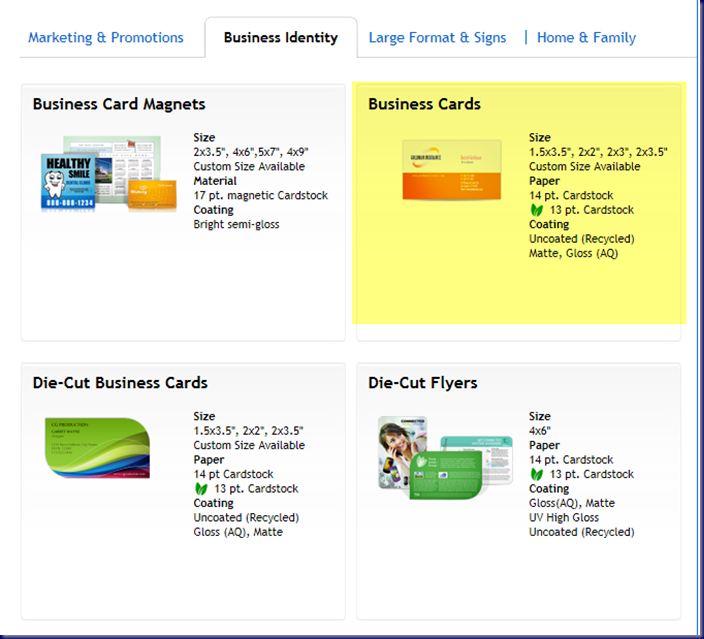
Then, I clicked on the tab in the top row that says “Business Identity” and clicked on “Business Cards.”
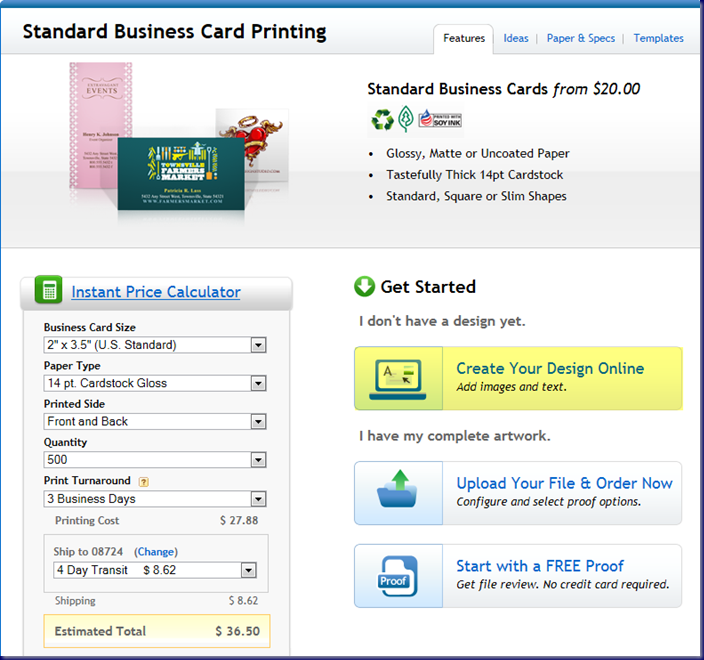
It brought up the following screen:
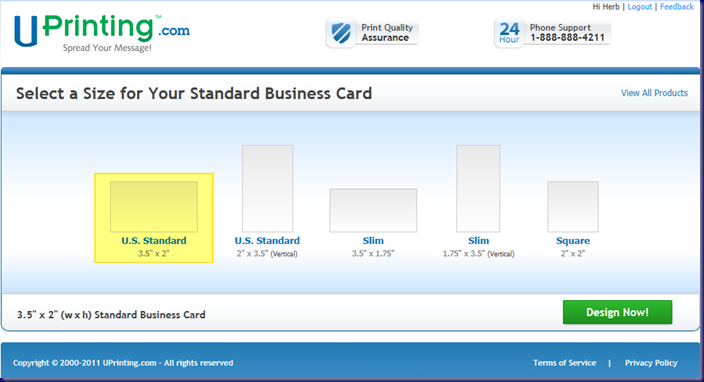
Since I was using my own artwork (photos), I choose the first option under “Getting Started.” The next screen presents the different size options available.
I chose “U.S. Standard” in a landscape format. Then I clicked on the “Design Now!” button.
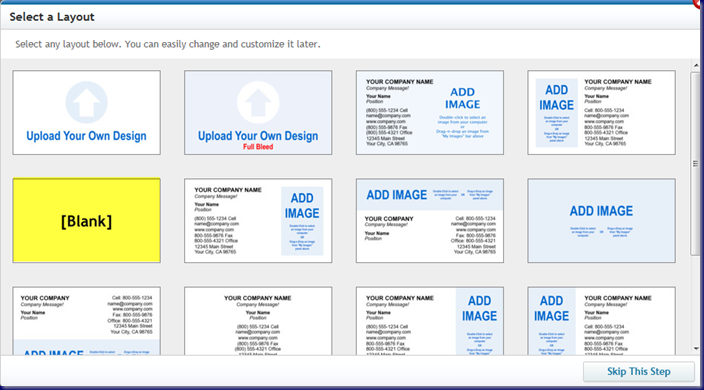
You can pick out one of their designs or you can make your own. I choose “Blank.” If you like the text layout of one of their standard cards, choose it and add your photo or artwork for a background on either the front only or the front and back of the card.
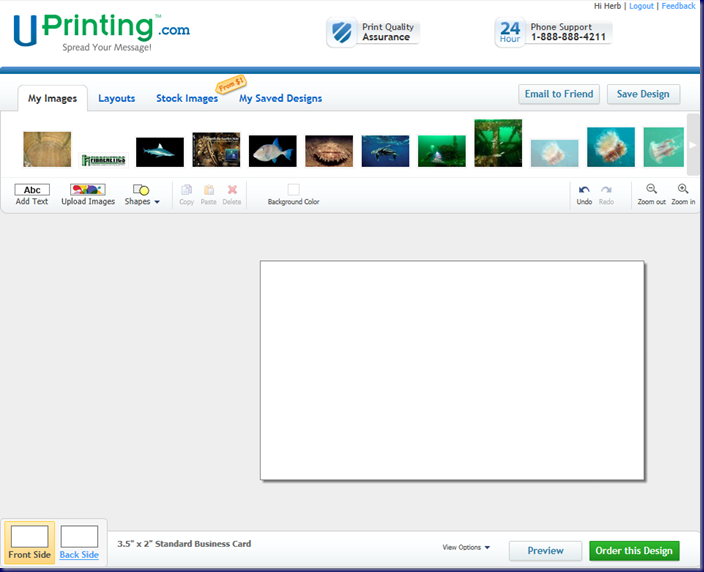
I had already designed a few cards and had photos from my computer in the “My Images” section. If you don’t have any online, click on the “Upload Images” button to bring images in from your computer. Remember that they have to be high enough resolution to print well. You will get a warning if your image size or resolution is not adequate for the layout. I did not resize any of my images to 3.5” x 2” but if they don’t look good on the screen, I would resize them in the computer before uploading. I am going to pick the image for the front of my card from those in “My Images” section. Holding my mouse over the image, I was given the options to drag and drop the image or to make it the background:
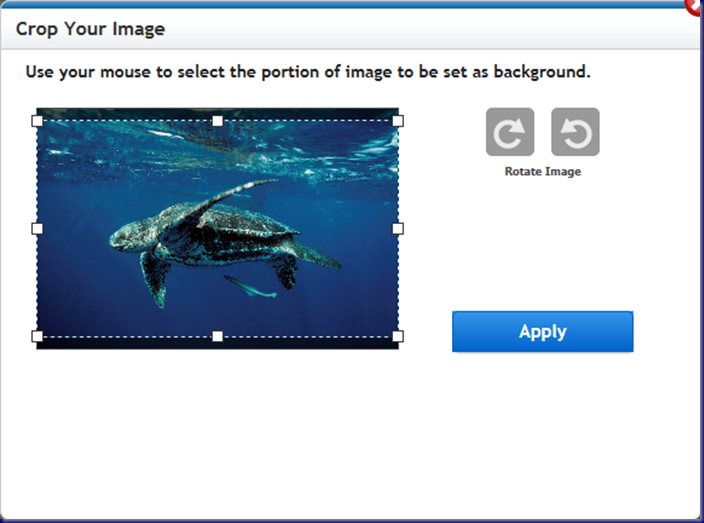
I selected “Make It Background.”
Although it looks like it needs to be resized, it doesn’t. The photo will fit the area where it is the background. I selected “Apply.”
Now that I had the background for the front of my card, I added text.
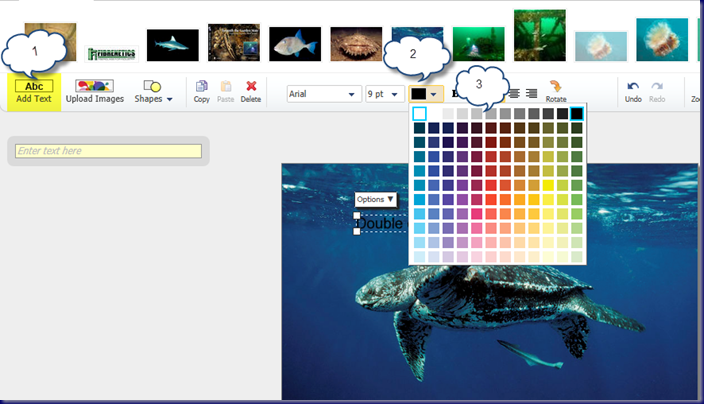
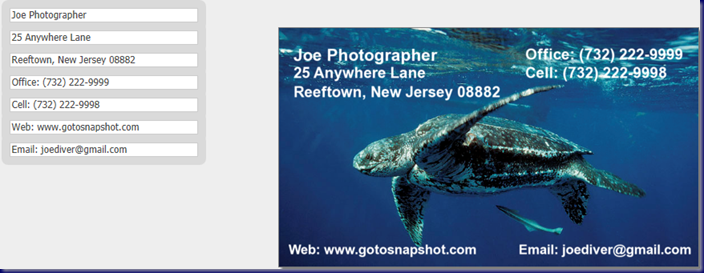
Fist, click on the “Add Text” button. Put text into the box and drag your mouse over the text to select it. Choose the color drop down box and choose the text color. You can bold or italicize the text or change the font family and size. I continued adding lines until I got the front side of the card the way that I wanted it.
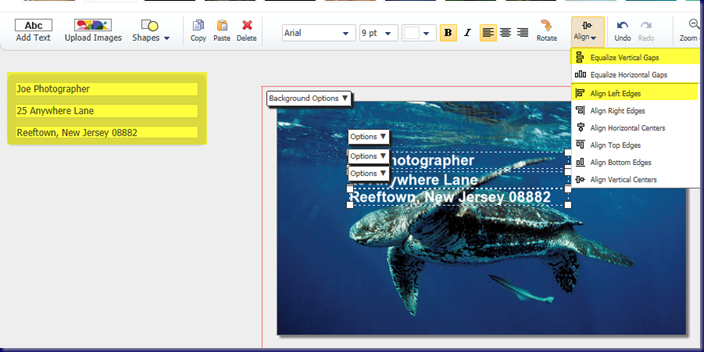
You edit the text on the left side of the screen. I put in the first line of text and used the “copy” and “paste” buttons to put in the other lines. I edited them and used my mouse to drag over the three lines of text. I was then given options to “Align the Left Edges” of all the lines and then to “Equalize the Vertical Gaps” of all three lines. When I finished with my text, it looked like this:
I used the “Align” drop down to the right of the “Rotate” button to align the text to suit my needs. Once I finished the front side of the card, I clicked on the “Back Side” button in the lower left corner of the screen.
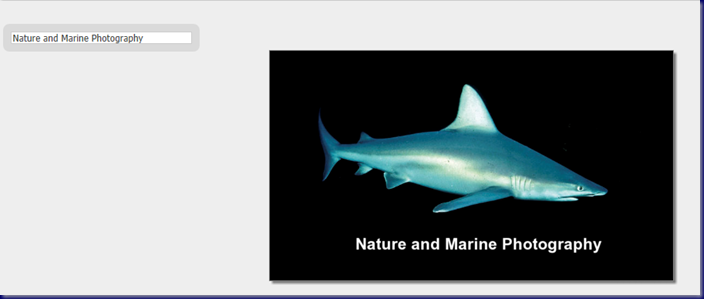
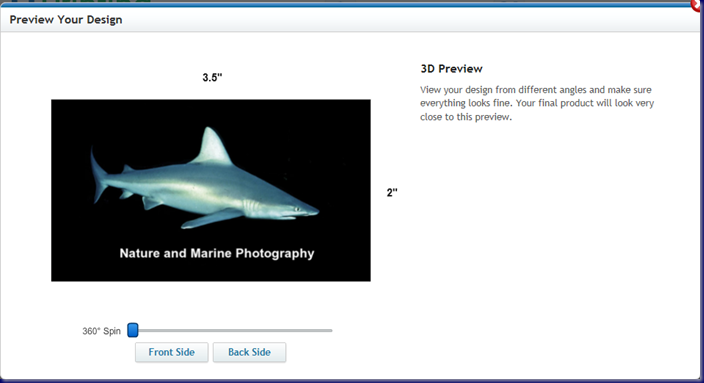
I chose a sandbar shark for the backside image.
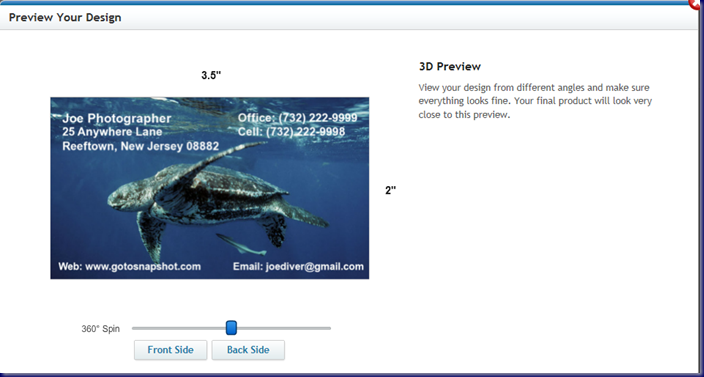
I added some text and I was done. I also have an option for a 3D view of the card.
You can use the slider to turn the card around and look at both sides:
If you are working on your design but don’t finish, you can save your design and come back later to finish. You can also email your design to yourself or to a friend for feedback. If you don’t have photos or designs for your card, you can search for them and purchase them direct from the Uprinting web site. It took about a week-and-a-half from when I placed my order until I received my cards.
I do have to say that I made some mistakes with my designs. The most important thing to keep in mind when you are using images for backgrounds is how well the text will show over the image. My friend, Joe Pakan, used Uprinting for his card. I helped with the layout. He wanted to have a photo of sand dollars on the front of the card. I tried black text over the image but it didn’t look good. What eventually worked was to make the image darker in my computer using Photoshop and then using white text. On the back of his card, we used a photo of Joe diving on an artificial reef off New Jersey. The end result was very attractive and Joe was happy with his cards.
The bottom line for me was an excellent product at a reasonable price. I remember buying business cards for three or four times the price that I paid for these and I didn’t have anywhere near as many options available for their design. If you would like to give Uprinting a try for your business cards, please use this link: Business Cards. For other printing items, try these links: Flyer Printing, Postcard Printing, and Catalog Printing.
© 2011, Herb Segars. All rights reserved.

